Your One Stop Local Business News

Tag: garage door repair Grapevine TX

Opening Doors to Quality: Finding and Hiring the Best Garage Door Experts – Grapevine Gates & Garage Doors

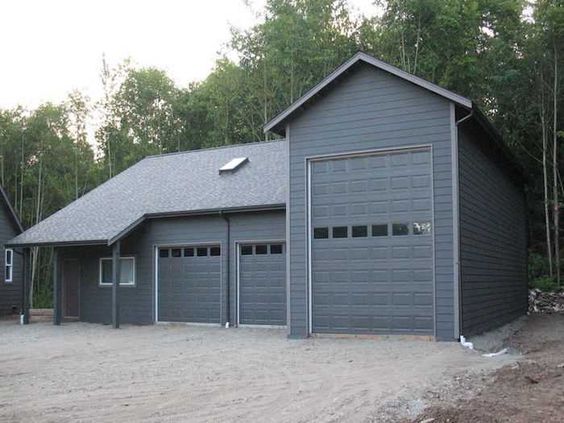
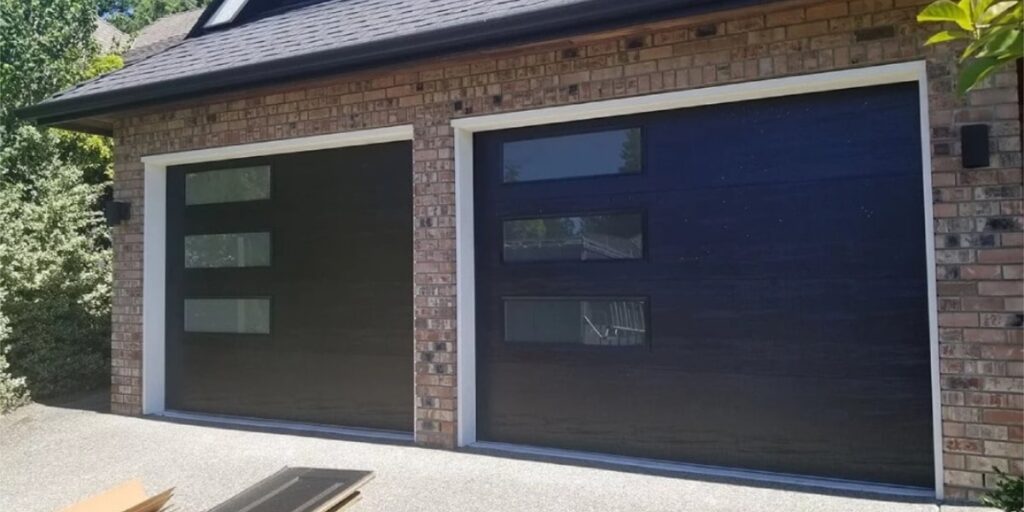
When it comes to my home, every detail matters – including my garage door. Recognizing the importance of proper installation, maintenance, and repairs, I embarked on a journey to find the best garage door experts. Through this process, I’ve learned valuable insights into identifying professionals who prioritize quality, reliability, and peace of mind.

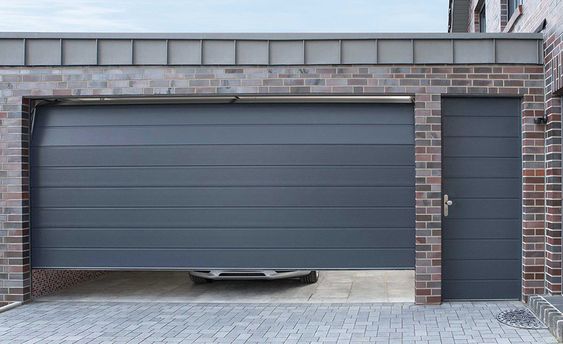
In this guide, I’ll share the steps I took from Garage Door Repair Grapevine TX to locate and hire the finest garage door experts who exceeded my expectations.

1. Assessing My Needs

I began by assessing my specific needs. Did I require a new garage door installation, repairs, or regular maintenance? I made a note of any issues I had noticed with my garage door’s performance – from unusual noises to difficulties in operation. Understanding my needs allowed me to communicate effectively with potential experts.

2. Researching Local Options

I reached out to friends, family, and neighbors for recommendations. Their firsthand experiences provided valuable insights. Additionally, I scoured online platforms, business directories, and customer reviews to create a list of local garage door professionals.

3. Checking Credentials

Cautiously, I checked the credentials of the experts on my list. I ensured that they possessed the necessary licenses and insurance required in my area. Proper licensing assured me that they adhere to industry standards, while insurance coverage offered protection against unforeseen accidents or damages.

4. Reading Customer Reviews and Ratings

Customer reviews and ratings became my window into the experiences of past clients. I dedicated time to read reviews on platforms like Google, Yelp, and the Better Business Bureau. Paying attention to recurring themes in reviews – positive feedback on professionalism, punctuality, and quality of work – guided me in making informed decisions.

5. Requesting Quotes and Estimates

I contacted the garage door experts on my list and requested detailed quotes or estimates for my project. A thorough quote included itemized costs for materials, labor, and any additional fees. Instead of solely focusing on the lowest price, I considered the overall value offered, including their reputation, expertise, and quality of materials.

6. Conducting Interviews

Narrowing down my choices, I conducted interviews with a select few experts. These conversations helped me gauge their experience, training, and approach to different garage door challenges. I probed how they handle unexpected obstacles, and whether their communication style aligned with my preferences.

7. Reviewing Portfolios

I requested portfolios or examples of past projects from the experts I was considering. Examining their previous work allowed me to evaluate their craftsmanship, attention to detail, and alignment with my aesthetic preferences. A well-documented portfolio showcased their versatility and capability to handle diverse garage door styles and materials.

8. Seeking References

I asked the garage door experts for references from their previous clients. Speaking with these references firsthand provided invaluable insights. I inquired about their satisfaction levels, the experts’ ability to meet deadlines, and their communication throughout the project. Positive references instilled confidence in my decision-making process.

9. Evaluating Professionalism and Communication

Throughout my interactions, I paid close attention to the experts’ professionalism and communication. Were they responsive to my inquiries? Did they provide clear explanations of their recommendations and solutions? I found that professionals who prioritized clear communication and displayed professionalism were more likely to deliver a smooth experience.

10. Making an Informed Decision

Armed with information, I evaluated and compared the garage door experts based on their credentials, quotes, interviews, portfolios, references, and overall impression. I recognized that the goal was to find experts who met my needs and aligned with my expectations for quality and reliability.

11. Written Agreements

After making my decision, I ensured that all project details and expectations were clearly outlined in a written agreement. This document covered the scope of work, materials to be used, project timeline, payment terms, and any warranties provided. Signing the agreement before work commenced prevented any misunderstandings later on.

12. Overseeing the Project

Throughout the project, I maintained open communication with the chosen garage door experts. Regularly checking on progress, asking questions, and addressing concerns ensured that I remained informed at every stage. This engaged approach allowed for adjustments if needed.

13. Quality Assurance and Follow-Up

Upon project completion, I conducted a thorough inspection to ensure the work met my expectations. Testing the garage door’s functionality, I addressed any issues promptly. Reputable experts take pride in their work and are committed to ensuring client satisfaction.

14. Ongoing Maintenance and Care

I discussed a maintenance plan with the experts to keep my garage door in optimal condition. Regular maintenance prevents future issues and extends the door’s lifespan. Following their recommendations for maintenance tasks and addressing concerns promptly has helped maintain my garage door’s performance.

Overall, according from Garage Door Repair Grapevine TX, my journey to find and hire the best garage door experts was a rewarding one. By taking the time to research, evaluate, and make informed decisions, I found professionals who prioritize quality and reliability. The expertise of reliable garage door experts is an investment in the security, convenience, and aesthetics of my home. Through these steps, I’ve opened doors to a partnership that ensures my garage door remains a dependable and appealing part of my property.

Grapevine Gates & Garage Doors

601 W Wall St, Grapevine, TX 76051, United States

817-6316355

How to Program Linear Garage Door Opener-Grapevine Garage Door & Gates

Programming a Linear Garage Door Repair Grapevine TX opener involves a few simple steps.

In this guide, I will provide you with detailed instructions to help you program your Linear garage door opener effectively.

Step 1: Clear the Memory Before programming a new remote or keypad, it is essential to clear the memory of the Linear garage door opener to ensure a fresh start. To clear the memory, locate the “Learn” or “Smart” button on the garage door opener motor unit. Press and hold the “Learn” button until the indicator light turns off, usually within 10 seconds. This action erases all previously programmed remotes and keypads.

Step 2: Determine the Programming Method Linear garage door openers offer different programming methods, including the single-button programming method or the multi-button programming method. Refer to your specific garage door opener model’s instruction manual to identify which programming method is applicable.

Step 3: Single-Button Programming Method If your Linear garage door opener uses the single-button programming method, follow these steps:

  1. Locate the “Learn” or “Smart” button on the garage door opener motor unit.
  2. Press and release the “Learn” button. The indicator light will illuminate or blink, indicating that the opener is ready to learn a new remote or keypad.
  3. Within 30 seconds, press and hold the button on the remote or keypad that you wish to program. Hold the button until the opener’s indicator light blinks or turns off, indicating a successful programming.
  4. Release the button on the remote or keypad. Test the programmed device to ensure it operates the garage door correctly.

Step 4: Multi-Button Programming Method If your Linear garage door opener uses the multi-button programming method, follow these steps:

  1. Locate the “Learn” or “Smart” button on the garage door opener motor unit.
  2. Press and release the “Learn” button. The indicator light will illuminate or blink, indicating that the opener is ready to learn a new remote or keypad.
  3. Within 30 seconds, enter a unique four-digit PIN of your choice on the keypad (if applicable). Press the “Enter” or “Send” button on the keypad.
  4. The indicator light on the opener will blink or turn off, indicating a successful programming.
  5. Test the programmed keypad by entering the PIN you just set, followed by the “Enter” or “Send” button. The garage door should operate accordingly.

Step 5: Additional Remotes or Keypads To program additional remotes or keypads, repeat Steps 3 or 4 depending on the programming method your Linear garage door opener uses. Remember to press the “Learn” button on the motor unit before programming each additional device.

Step 6: Erasing Individual Remotes or Keypads If you need to remove a single remote or keypad from the opener’s memory, follow these steps:

  1. Press and hold the “Learn” button on the motor unit until the indicator light turns off.
  2. Release the “Learn” button.
  3. Press and hold the button on the remote or keypad you wish to erase.
  4. After approximately six seconds, the opener’s indicator light will blink, indicating a successful removal of the device.

Remember to consult your specific Linear Garage Door Repair Grapevine TX opener instruction manual for any model-specific instructions or troubleshooting steps. Following these instructions should allow you to successfully program your Linear garage door opener and enjoy convenient access to your garage.

Grapevine Garage Door & Gates

Grapevine Doors and Gates
Grapevine, TX

817-809-2507

Does Leaving Garage Door Open Make House Hotter? – Grapevine Garage Door & Gates

As a homeowner who has left the garage door open on occasion, I have noticed a noticeable difference in the indoor temperature, especially during hot weather. Here’s my firsthand experience and understanding of how leaving the garage door open can make the house hotter:

According to Grapevine TX Garage Door, when I leave the garage door open, hot air from outside can easily enter the garage space. Since the garage is typically not as well-insulated as the rest of the house, this hot air can quickly transfer into the adjoining living spaces. The lack of proper insulation in the garage walls and door allows heat to seep through, affecting the indoor temperature.

Additionally, if the sun is directly shining into the garage, the space can absorb a significant amount of heat. The garage acts as a heat source, absorbing the sun’s rays and radiating that heat into the surrounding areas. When the garage door is open, the radiant heat from the sun can penetrate into the house, leading to a warmer indoor environment.

Leaving the garage door open also allows for increased airflow between the garage and the house. As hot air rises, it can flow freely through the open door and infiltrate the living areas. This circulation of hot air can create a heat exchange, especially if there are open windows or doors in the house. The lack of proper ventilation in the garage exacerbates the issue, as stagnant hot air accumulates and transfers into the house.

Another factor to consider is the heat load generated within the garage itself. If there are vehicles, appliances, or equipment in the garage that produce heat, leaving the door open allows that heat to escape into the surrounding areas. This additional heat load can contribute to increased temperatures inside the house.

While the impact of leaving the garage door open on indoor temperatures may vary depending on factors such as insulation, climate, and the layout of the house, I have noticed a difference in my own home. On hot days, leaving the garage door open for an extended period has led to a warmer indoor environment, requiring more effort from the air conditioning system to maintain a comfortable temperature.

To mitigate the heat transfer caused by leaving the garage door open, I have taken several measures. Firstly, I make a conscious effort to close the garage door as soon as I am finished in the garage, especially during peak daylight hours when the sun’s rays are the strongest. I have also improved the insulation of the garage by installing weatherstripping around the door and sealing any gaps or cracks in the walls. This has helped minimize heat transfer from the garage to the house.

Additionally, I utilize proper ventilation in the garage by installing vents or fans to promote airflow and prevent stagnant heat buildup. This allows for better circulation and helps reduce the amount of hot air entering the house when the garage door is open.

In conclusion, according to Grapevine TX Garage Door and based on my personal experience, leaving the garage door open can indeed make the house hotter. The transfer of heat, radiant heat from the sun, increased airflow, and the heat load from the garage all contribute to elevated indoor temperatures. Taking measures to improve insulation, ensure proper ventilation, and close the garage door promptly can help minimize the impact and maintain a comfortable temperature inside the house.

Grapevine Garage Door & Gates

Grapevine, TX

817-809-2507

How to Replace a Genie Garage Door Opener Remote-Grapevine Garage Door & Gates

Replacing a Genie Garage Door Repair Grapevine TX opener remote is a relatively easy task that can be done by most homeowners with minimal effort.

In this guide, we will go over the steps required to replace your Genie garage door opener remote.

Step 1: Purchase a New Remote

The first step in replacing your Genie garage door opener remote is to purchase a new remote. There are a variety of Genie remote models available on the market, so be sure to purchase the correct model for your garage door opener. You can purchase a new remote from a local home improvement store or online.

Step 2: Reset the Garage Door Opener

Before programming your new Genie garage door opener remote, you will need to reset the garage door opener. To do this, locate the “Learn” button on the garage door opener motor unit. The location of this button may vary depending on the model of your garage door opener, so consult your owner’s manual if you are unsure where to find it. Once you have located the button, press and hold it down until the indicator light on the motor unit blinks.

Step 3: Program the New Remote

After resetting the garage door opener, you can now program your new Genie garage door opener remote. The programming process may vary depending on the model of your garage door opener, but in general, you will need to follow these steps:

  1. Press and hold the “Learn” button on the garage door opener motor unit until the indicator light turns on.
  2. Within 30 seconds, press and hold the button on the new remote that you want to use to operate the garage door.
  3. Release the button on the remote when the indicator light on the motor unit blinks, indicating that the programming process is complete.
  4. Test the new remote to ensure that it is working properly. Stand at least 5 feet away from the garage door opener motor unit and press the button on the new remote. The garage door should open or close in response.

Step 4: Delete the Old Remote

Once you have successfully programmed your new Genie garage door opener remote, it is important to delete the old remote from the garage door opener’s memory. This will prevent the old remote from being able to operate the garage door.

To delete the old remote, locate the “Learn” button on the garage door opener motor unit and press it once. The indicator light will turn on. Within 30 seconds, press and hold the button on the old remote that you want to delete. Release the button when the indicator light on the motor unit blinks twice, indicating that the old remote has been deleted from the garage door opener’s memory.

Step 5: Test the Garage Door

After completing the programming and deletion steps, it is important to test the garage door to ensure that everything is working properly. Stand at least 5 feet away from the garage door opener motor unit and press the button on the new remote. The garage door should open or close in response. Repeat this process a few times to ensure that the remote is working consistently.

In conclusion, replacing a Genie Garage Door Repair Grapevine TX opener remote is a simple process that can be completed in just a few steps. By following these instructions, you can easily program a new remote and delete the old one from the garage door opener’s memory. With a new remote, you can continue to operate your garage door with ease and convenience.

Grapevine Garage Door & Gates

Grapevine Doors and Gates
Grapevine, TX

1-817-809-2507

How Hard Is It To Replace a Garage Door Opener – Grapevine Garage Door & Gates

Replacing a Garage Door Repair Grapevine TX opener can seem like a daunting task for many people. However, it is not as complicated as it may seem. If you have basic mechanical skills and the right tools, you can replace your garage door opener in a few hours.

In this article, we will provide you with a step-by-step guide on how to replace your Garage Door Repair Grapevine TX opener:

Step 1: Gather the Tools and Materials

Before you start replacing your garage door opener, you need to gather the tools and materials required for the job. The tools and materials you will need include:

Tools:

  • Screwdriver
  • Socket wrench
  • Pliers
  • Drill
  • Hammer
  • Level

Materials:

  • New garage door opener
  • Mounting brackets
  • Screws
  • Remote control
  • Safety sensors
  • Electrical wire

Step 2: Remove the Old Garage Door Opener

The first step in replacing your garage door opener is to remove the old one. Start by unplugging the power cord from the outlet. If your garage door opener is connected to your home’s electrical system, turn off the circuit breaker to the garage. Next, remove the brackets that hold the opener to the ceiling. You may need a screwdriver or a socket wrench to remove the screws. Once the brackets are removed, disconnect the wires from the old opener.

Step 3: Install the Mounting Brackets

Before installing the new garage door opener, you need to install the mounting brackets. Follow the manufacturer’s instructions on where to place the brackets on the ceiling. Use a level to ensure the brackets are level. Once the brackets are in place, attach them to the ceiling with screws.

Step 4: Install the New Garage Door Opener

Now it’s time to install the new garage door opener. Follow the manufacturer’s instructions to install the new opener onto the mounting brackets. You may need someone to help you hold the opener while you attach it to the brackets. Once the opener is attached, connect the wires according to the manufacturer’s instructions.

Step 5: Install the Safety Sensors

Most garage door openers come with safety sensors that detect obstacles in the way of the door. Install the sensors according to the manufacturer’s instructions. Typically, the sensors need to be placed on each side of the garage door, about 6 inches from the ground.

Step 6: Install the Remote Control

Now it’s time to install the remote control. Most garage door openers come with a remote control that allows you to open and close the garage door from your car or inside your home. Follow the manufacturer’s instructions to program the remote control to work with your new garage door opener.

Step 7: Test the Garage Door Opener

After installing the new garage door opener, test it to make sure it works correctly. Close the garage door and then use the remote control to open it. If the door opens smoothly and closes without any issues, then your new garage door opener is working correctly.

Conclusion:

Replacing a garage door opener is not as hard as it may seem. With the right tools and materials, and following the manufacturer’s instructions, you can replace your garage door opener in a few hours. Remember to take your time, read the instructions carefully, and ensure the opener is installed correctly before testing it. With a new garage door opener, you can enjoy the convenience of opening and closing your garage door with ease.

Grapevine Garage Door & Gates

1-817-809-2507

Page 2 of 2

Powered by WordPress & Theme by Anders Norén