
As a homeowner, few things can be as disheartening as discovering mold and rot in your home, especially during a window replacement project. When I embarked on my own window replacement journey, I encountered this unpleasant surprise, and it taught me a valuable lesson about the importance of addressing these issues promptly and effectively.
In Window Replacement, I will share my experiences and insights on dealing with mold and rot during window replacement.
Understanding the Culprits: Mold and Rot
Before delving into how to deal with mold and rot, it’s crucial to understand what they are and how they develop.
1. Mold: Mold is a type of fungus that thrives in damp, humid conditions. It often appears as a black, green, or grayish substance that spreads across surfaces. Mold can cause health issues and structural damage if left unchecked.
2. Rot: Rot refers to the decomposition of wood due to the growth of fungi. Wood rot typically occurs in areas with high moisture levels and poor ventilation. It weakens the structural integrity of wood and can compromise the stability of your home.
Signs of Mold and Rot During Window Replacement
Identifying mold and rot early is crucial to prevent further damage. Here are some common signs to look for during a window replacement project:
1. Visible Mold: Obvious mold growth on walls, window frames, or adjacent surfaces is a clear indicator of a mold issue.
2. Musty Odor: A musty or earthy smell can suggest the presence of mold, even if it’s not visible.
3. Discoloration: Discoloration on walls, ceilings, or window frames may be a sign of mold or rot.
4. Soft or Spongy Wood: When tapping or pressing on wood surfaces, if they feel soft or spongy, it may indicate wood rot.
5. Peeling Paint or Wallpaper: Peeling or bubbling paint or wallpaper can result from moisture issues caused by mold or rot.
6. Deteriorating Window Frames: Window frames that are deteriorating, decaying, or showing signs of damage may be suffering from wood rot.
Dealing with Mold and Rot During Window Replacement
Discovering mold and rot during a window replacement project can be discouraging, but it’s essential to address these issues promptly to prevent further damage and ensure a successful replacement. Here’s a step-by-step guide on how to deal with mold and rot:
1. Identify the Extent of the Problem
Before taking any action, assess the extent of the mold and rot issues. Determine if it’s localized to the window frame or if it has spread to surrounding areas. Knowing the scope of the problem will help you plan the necessary repairs.
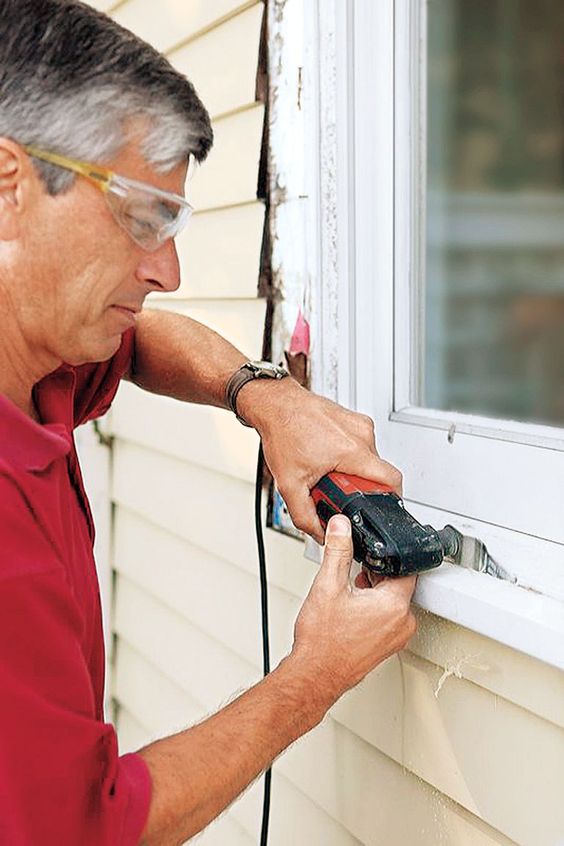
2. Prioritize Safety
Safety should be your top priority when dealing with mold. Mold spores can be harmful when inhaled or when they come into contact with your skin or eyes. To protect yourself:
- Wear appropriate safety gear, including gloves, a mask, and safety goggles.
- Ensure proper ventilation in the affected area to disperse mold spores.
3. Isolate the Affected Area
Containment is essential to prevent the mold or rot from spreading during the window replacement. Seal off the affected area using plastic sheeting and tape. This will help prevent the contamination of other parts of your home.
4. Remove and Dispose of Moldy Materials
Remove any materials that are beyond repair, such as severely rotted wood or mold-infested drywall. Properly dispose of these materials following local regulations for hazardous waste.
5. Treat and Clean the Affected Area
For mold, you can clean the affected surfaces with a solution of water and mild detergent or a commercial mold cleaner. For wood rot, remove any loose or rotted wood and treat the area with a wood preservative or fungicide to prevent further growth.
6. Replace Damaged Wood
In cases of severe rot, you may need to replace the damaged wood. Ensure that the replacement wood is properly treated and sealed to prevent future rot. Take care to follow best practices for structural integrity.
7. Address the Source of Moisture
Both mold and wood rot thrive in damp environments. It’s crucial to identify and address the source of moisture to prevent future issues. Leaking windows, roof problems, or poor ventilation could contribute to the problem.
8. Consult Professionals
For extensive mold or rot issues, it’s advisable to consult with professionals who specialize in mold remediation or wood rot repair. They have the expertise and equipment to address these issues effectively and safely.
9. Window Replacement
After dealing with mold and rot issues, proceed with the window replacement. Ensure that the replacement is done by experienced professionals who can install the windows correctly and provide proper sealing and insulation to prevent future problems.
10. Preventive Measures
Once the window replacement is complete, take preventive measures to avoid future mold and rot issues:
- Maintain proper ventilation in your home to reduce humidity levels.
- Regularly inspect and maintain your windows and the surrounding areas to catch potential issues early.
- Consider installing mold-resistant drywall or wood in areas prone to moisture.
- Use exhaust fans in bathrooms and kitchens to reduce humidity.
Conclusion: Addressing Mold and Rot for a Successful Window Replacement
Overall, based from Window Replacement and while discovering mold and rot during a window replacement project can be disheartening, it’s essential to take swift and appropriate action to address these issues. Dealing with mold and rot effectively not only ensures a successful window replacement but also contributes to a healthier and more structurally sound home. Prioritize safety, identify the source of moisture, and consider consulting professionals when needed to tackle these issues comprehensively. By taking these steps, you can transform a challenging situation into an opportunity to improve the overall health and durability of your home.
Denton Siding & Window Replacement
1429 Ridgecrest Cir, Denton, TX 76205, United States
940-283-7300