
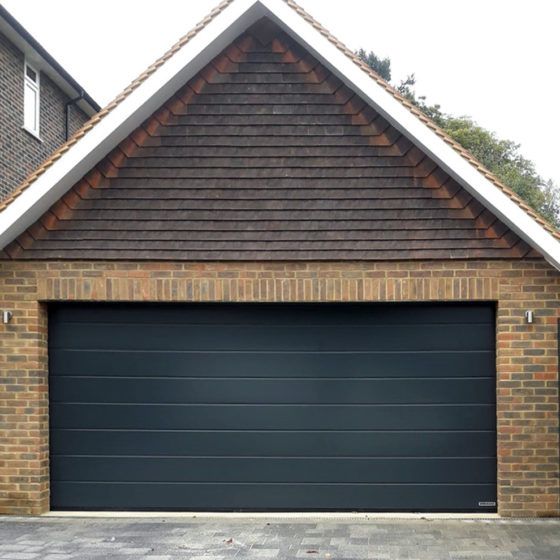
A garage door seal is an important component that helps protect your garage from the elements, pests, and other intruders. However, over time, the seal may become damaged or worn out, and it may no longer provide adequate protection. In this case, it is important to fix the seal as soon as possible to prevent further damage to your garage.
Here are the steps to follow to fix a garage door seal according to Springtown Garage Door:
- Identify the type of damage
The first step in fixing a garage door seal is to identify the type of damage. The most common types of damage are cracks, splits, and tears. If the damage is minor, you may be able to fix it using a sealant or adhesive. However, if the damage is significant, you may need to replace the entire seal.
- Clean the damaged area
Before you start fixing the seal, clean the damaged area thoroughly. Use a damp cloth to remove any dirt, debris, or grease. This will ensure that the sealant or adhesive adheres properly to the surface.
- Apply a sealant or adhesive
If the damage is minor, you can fix it using a sealant or adhesive. Apply the sealant or adhesive to the damaged area, following the manufacturer’s instructions. Make sure to apply the sealant or adhesive evenly and cover the entire damaged area.
- Allow the sealant or adhesive to dry
After you have applied the sealant or adhesive, allow it to dry completely. The drying time may vary depending on the type of sealant or adhesive you used, so check the manufacturer’s instructions for the recommended drying time.
- Test the seal
Once the sealant or adhesive is dry, test the seal to make sure it is fixed properly. Close the garage door and check to see if there are any gaps or spaces between the seal and the door. If there are gaps or spaces, you may need to reapply the sealant or adhesive or replace the entire seal.
- Replace the entire seal
If the damage is significant or if the seal is too worn out to be fixed, you may need to replace the entire seal. To replace the seal, follow these steps:
- Remove the old seal: Use a utility knife or scissors to remove the old seal from the garage door. Make sure to remove all the screws or nails that are holding the seal in place.
- Measure the length of the new seal: Use a measuring tape to determine the length of the new seal you need. Cut the new seal to the appropriate length using scissors or a utility knife.
- Position the new seal: Position the new seal on the garage door, making sure it is centered and covers the entire width of the door.
- Attach the new seal: Using a drill or screwdriver, attach the new seal to the garage door using screws or nails. Make sure the screws or nails are inserted straight and go all the way through the seal and into the garage door.
- Test the new seal: Once the new seal is attached, close the garage door and check to see if the seal is properly installed. There should be no gaps or spaces between the seal and the garage door.
In conclusion, as per Springtown Garage Door, fixing a garage door seal is an important maintenance task that can help protect your garage and its contents. By identifying the type of damage, cleaning the damaged area, applying a sealant or adhesive, and testing the seal, you can fix minor damage. If the damage is significant, you may need to replace the entire seal. By following these steps, you can ensure that your garage door seal is properly fixed and provides adequate protection.
Springtown TX Garage Door
205 Ave A, Springtown, TX 76082
817-373-5963