
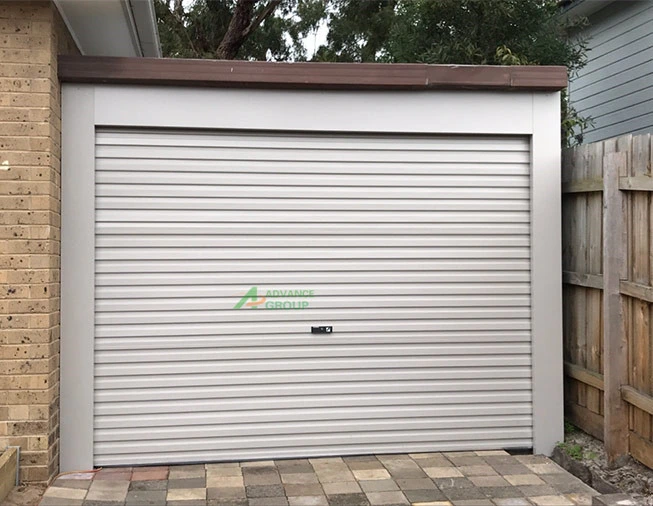
Rollers play a crucial role in the smooth operation of your Garage Door Repair Costa Mesa CA. Over time, they can wear out, causing the door to become noisy or even jammed.
Changing the rollers is a maintenance task that can be done by most DIY enthusiasts. In this comprehensive guide, we’ll walk you through the process of changing rollers on your garage door, step by step.
Tools and Materials You’ll Need:
- New garage door rollers (make sure they are compatible with your door type).
- Wrench or socket set.
- C-clamps.
- Ladder.
- Safety glasses and gloves.
- Pry bar.
- Lubricant (silicone-based or garage door-specific lubricant).
- Cleaning cloth.
: Safety First Before you begin, ensure your safety. Put on safety glasses and gloves to protect your eyes and hands from potential injury.
: Disconnect the Garage Door Opener For your safety, disconnect the power to the garage door opener. You can usually do this by unplugging it or turning off the circuit breaker.
: Close the Garage Door Manually close the garage door using the emergency release cord. This will relieve the tension on the springs, making it safer to work on the rollers.
: Secure the Door To prevent the door from accidentally falling, secure it in place using C-clamps. Place the clamps on both sides of the track, just below the bottom roller.
: Remove the Old Rollers Locate the rollers that need replacement. Use a wrench or socket set to remove the nuts or bolts securing them in place. Once the hardware is removed, slide the old rollers out of the track.
: Inspect the Track While you have access to the track, take a moment to inspect it for any damage or debris. Clean the track with a cleaning cloth and remove any obstructions that could impede the new rollers’ movement.
: Install the New Rollers Slide the new rollers into the track, ensuring they align with the openings. Use the nuts or bolts you removed earlier to secure the new rollers in place. Tighten them firmly but do not over-tighten.
: Lubricate the Rollers Apply a generous amount of lubricant to the rollers. Make sure to use a silicone-based or garage door-specific lubricant for smooth and quiet operation. Lubricate both the rollers and the track.
: Test the Door Manually open and close the garage door a few times to ensure that the new rollers operate smoothly and without any unusual noise. If there are any issues, double-check the roller installation and lubrication.
: Reconnect the Garage Door Opener Once you’re satisfied with the roller replacement, reconnect the garage door opener by either plugging it back in or turning on the circuit breaker.
: Remove Clamps Remove the C-clamps that were securing the door in place.
: Perform a Safety Check Test the garage door opener to ensure it’s functioning correctly and that the safety features are working as expected. Make any necessary adjustments as needed.
Conclusion:
Changing the rollers on your Garage Door Repair Costa Mesa CA is a manageable DIY project that can improve the door’s performance and extend its lifespan. By following these steps carefully and taking the necessary safety precautions, you can have a smoothly operating garage door in no time. Regular maintenance like this will keep your garage door in excellent condition for years to come.
Denzel Garage Door of Costa Mesa
714-886-3808