
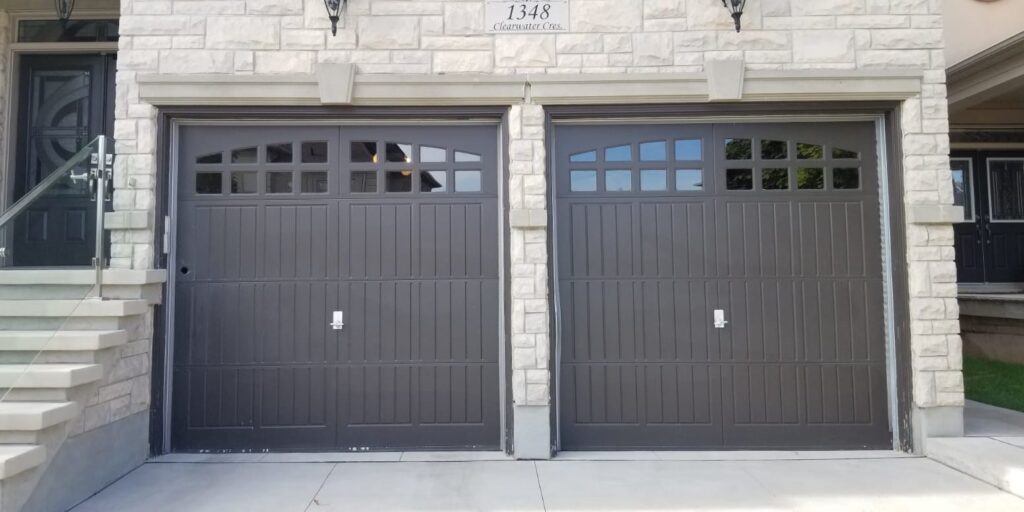
Programming a Garage Door Repair Colleyville TX opener may seem daunting at first, but with the right steps and tools, it can be done relatively easily. There are different types of garage door openers, so the specific steps may vary depending on the model you have.
However, the general principles are the same.
Here are the general steps you need to follow to program a garage door opener:
Step 1: Check the Remote
The first step is to check the remote for the garage door opener. Make sure the batteries are fresh, and the remote is functioning properly. If the remote is not working, it may be necessary to replace the batteries or repair the remote before programming the opener.
Step 2: Locate the “Learn” Button
The next step is to locate the “Learn” button on the garage door opener. The button is usually located near the antenna wire, and it may be labeled “Learn,” “Program,” or “Set.” If you’re not sure where the button is located, consult the owner’s manual for your garage door opener.
Step 3: Clear the Memory
Before programming the garage door opener, it’s important to clear the memory of any previous codes or settings. To do this, press and hold the “Learn” button until the light on the opener flashes. This may take several seconds, so be patient.
Step 4: Choose a Button on the Remote
Next, choose a button on the remote that you want to use to open and close the garage door. It’s best to choose a button that is easy to remember and use. Once you’ve chosen a button, press and hold it down until the light on the opener flashes.
Step 5: Program the Remote
With the “Learn” button pressed, and the light on the opener flashing, you’re ready to program the remote. Hold the remote close to the opener, and press the button you chose in Step 4. The light on the opener should flash again, indicating that the remote has been programmed.
Step 6: Test the Remote
To ensure that the remote is working correctly, test it by pressing the button you programmed in Step 5. The garage door should open or close, depending on the position it was in before programming. If the door doesn’t respond, try reprogramming the remote or consult the owner’s manual.
Step 7: Repeat for Additional Remotes
If you have more than one remote that you want to program, repeat the steps above for each remote. Be sure to use a different button on each remote, and hold each button down until the light on the opener flashes.
Additional Tips:
- If you’re having trouble programming the opener, consult the owner’s manual or contact the manufacturer for assistance.
- Make sure the garage door is closed before programming the opener.
- Keep the remote away from children and pets.
- Test the opener periodically to ensure it’s working correctly.
In summary, programming a Garage Door Repair Colleyville TX opener requires following a few simple steps, including locating the “Learn” button, clearing the memory, choosing a button on the remote, programming the remote, testing the remote, and repeating for additional remotes. By following these steps and keeping safety in mind, you can program your garage door opener in no time.
Colleyville Door and Gates
817-904-4816